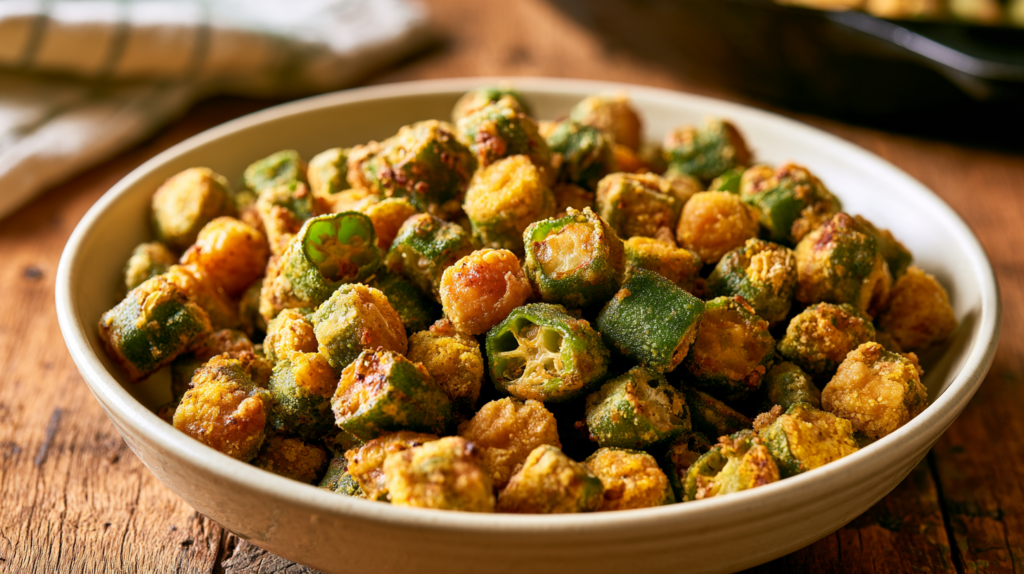
Southern pan fried okra has a special kind of crunch: a thin, golden cornmeal edge that gives way to tender green okra. You can hear when a batch is cooking right, too—the skillet keeps up a lively sizzle instead of falling quiet.
There’s nothing complicated about a bowl of fried okra, and that’s a good part of its charm. The pieces aren’t all perfectly shaped, the edges brown a little differently, and the best ones have those tiny crisp corners that never seem to last long on the serving plate.
Fresh pods, plain cornmeal, salt, and pepper do the job. The skillet does the rest, provided you pay attention. I’m not looking for a thick jacket of breading; I want the okra itself to come through. You’ll find the measurements in the recipe card and the sights and sounds worth knowing right here beside the stove.
We’ll start with what makes a pod worth bringing home, then work our way through the little details that turn a simple vegetable into something everybody reaches for at supper.
Keep an eye on the changing color, and you’ll learn more from one skillet than from a dozen timers.
Why Southern Skillet Okra Still Matters
Okra is one of those vegetables that fits the rhythm of a Southern garden. During warm weather, the pods can grow quickly, and a skillet is a practical way to turn a small picking into supper. You don’t need a deep fryer or a special occasion to make a good dish of it.
Stewed okra has its place, especially with tomatoes. This is another kind of pleasure altogether. The browned surface brings a toasted corn flavor, while the middle stays recognizably okra. A forkful beside soft beans or gravy gives your plate something to bite into.
A seasoned cast-iron skillet is well suited to cooking little batches because it holds heat as you lift one portion out and put the next in. That doesn’t mean you need a brand-new piece of equipment; a heavy pan you already own is a fine place to begin.
There is comfort in a recipe that makes good use of an ordinary harvest. A few simple ingredients, a pan on the stove, and one more bowl for the table—that’s plenty of reason to cook it.
Choosing Fresh Okra And Simple Ingredients
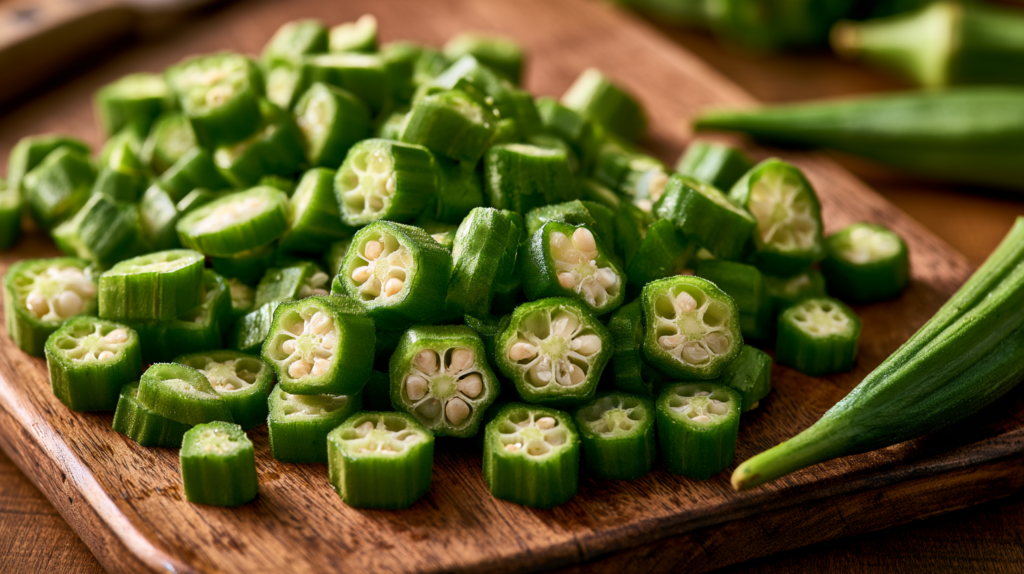
Choose about a pound of green pods with smooth skin and a fresh, clean smell. Small and medium ones are convenient because they give you rounds of a manageable size. Look closely at the stem ends for dark, soft spots; those aren’t what you want to bring home. If your pods are a little different in length, that’s no trouble.
Plain yellow cornmeal is the familiar coating here. Fine cornmeal makes a gentler crust; medium-ground gives a more noticeable little crunch. Very coarse meal can feel like grit between your teeth, so save that for another use. Check the bag before you start: self-rising cornmeal mix already contains other ingredients and won’t behave exactly like plain meal.
Salt and ground black pepper are all the seasoning this version needs. Mixing the two into the dry cornmeal spreads their flavor without leaving one bite bland and the next too peppery. A fresh grind of black pepper smells sharper than pepper that’s been sitting open near the stove for months.
Choose a neutral oil suited to frying, such as vegetable, canola, or peanut. The amount depends on the width of your skillet, so the recipe card gives a working quantity rather than a promise that you’ll use every drop. A broad bowl makes tossing easy, and a slotted spoon with a wide bowl will help you lift the cooked okra without scattering it.
How To Make Golden Skillet Okra
Prepare The Pods For The Knife
Rinse the pods while they’re still whole and spread them on a clean towel. Give them time to dry; I wash mine ahead of time for that very reason. Run a finger around the stem end before cutting. A drop of water tucked there can make the cornmeal clump later, and it has no business going into hot grease.
Trim the tough caps without throwing away half the pod. Cut across into rounds about a quarter-inch thick. A sharp knife makes neat cuts without crushing the sides. I don’t slice them hours ahead, either. That sticky juice you see on a cut face is perfectly normal, but leave a bowl of rounds standing long enough and it becomes harder to handle them neatly.
Give Each Round Its Cornmeal
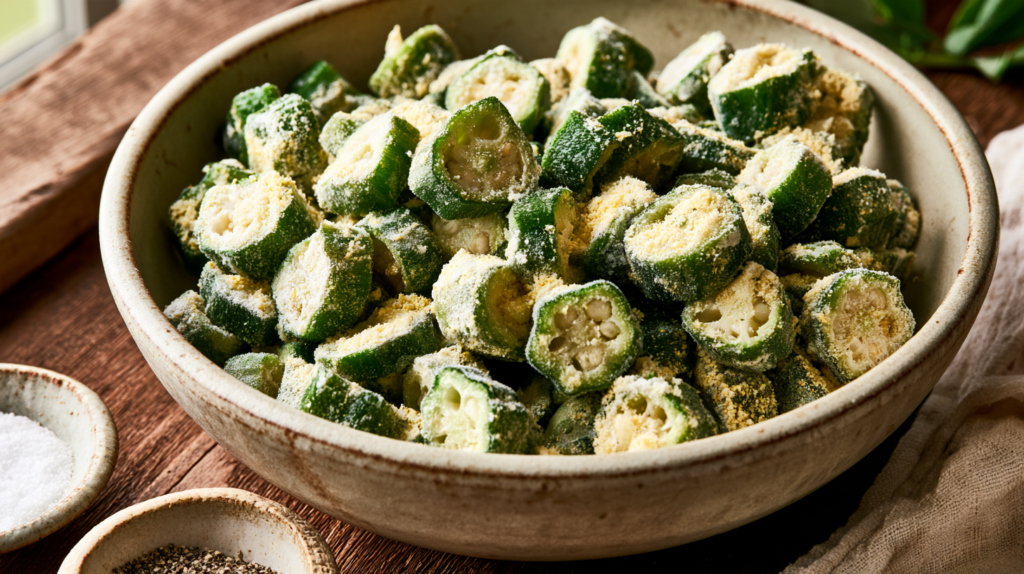
Stir the cornmeal, salt, and black pepper together before tipping in the sliced okra. Toss with a gentle hand. The freshly cut centers will catch the meal, while the skins will still show green. Think of dusting the pieces rather than packing a crust around them.
Use a slotted spoon or your fingers to lift the coated slices away from the extra meal. Loose cornmeal left in the bottom of the bowl doesn’t have to go into the skillet. Once it lands in the grease, those unattached grains brown much faster than the vegetable, and burnt crumbs can spoil the smell of the next batch.
Judge The Heat Before Frying
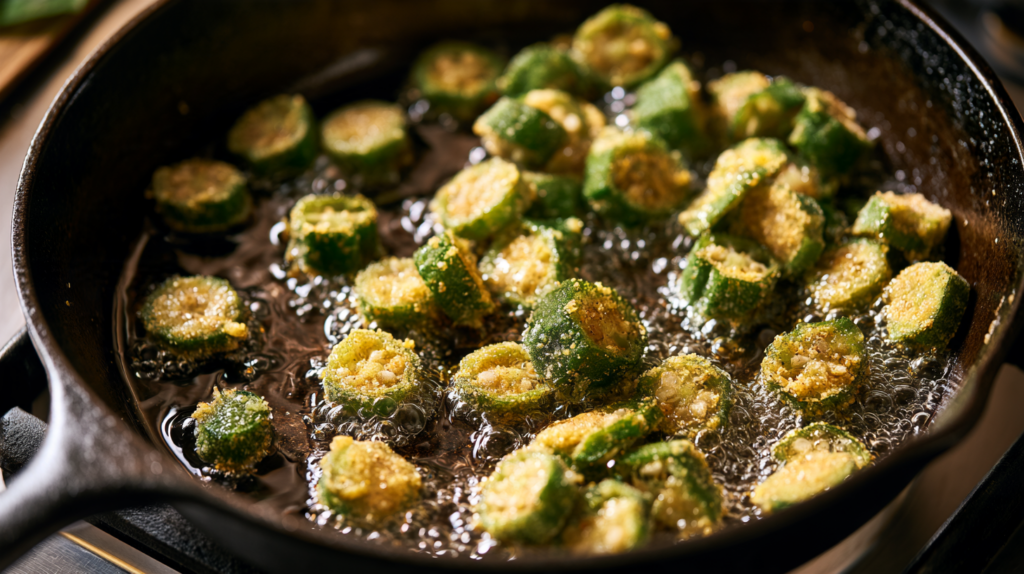
Pour a shallow layer of oil into your cast-iron skillet and warm it over medium to medium-high heat. A little pinch of cornmeal should break into lively bubbles when it hits the oil. If it merely lies there, the pan needs more time. If it instantly turns dark and you smell scorching, ease back on the burner.
A frying thermometer should read around 350–375°F. The important part is to keep the heat steady as the food goes in. Look at the oil around the edges of the first few pieces. Those bubbles tell you the moisture is escaping and the outside is taking on color.
Give The Crust Time Alone
Lay in only enough okra for a loose layer. A big heap cools the oil and leaves pieces resting on one another, where they can’t brown properly. I fry mine in batches rather than try to hurry the whole bowl through at once.
Now comes the part I won’t hurry. Leave those little rounds alone until the underside looks golden when you lift one. If you keep fooling with them every few seconds, you’ll knock away the cornmeal before it ever gets a chance to crisp. Turn gently, and let the other cut faces color.
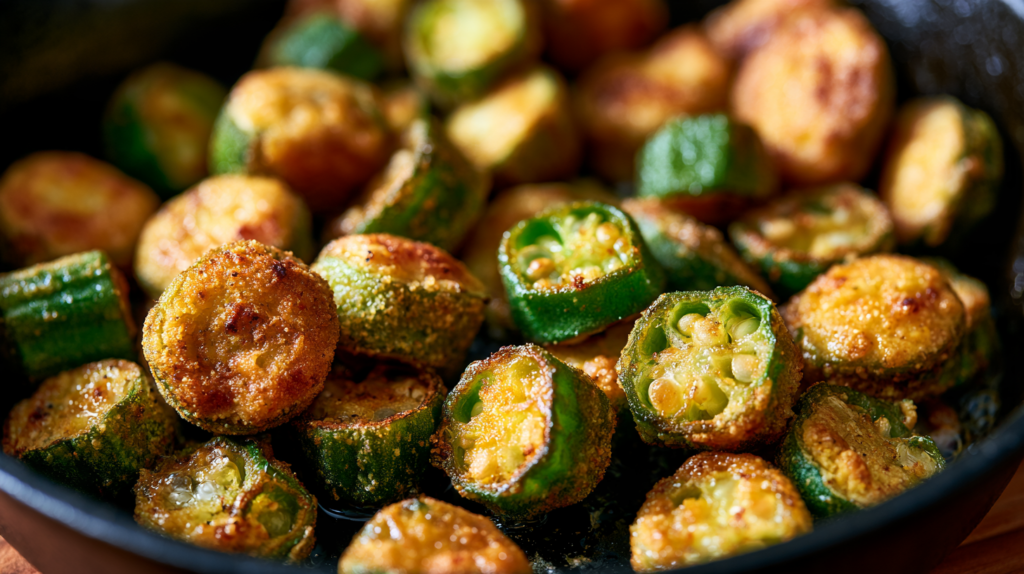
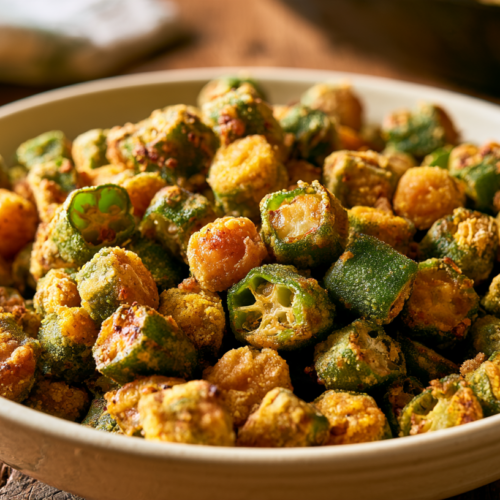
Most batches need about six to eight minutes, but watch what is happening instead of trusting the clock by itself. A finished piece should have dry-looking, browned edges and a tender center. Let a sample cool enough to bite; a powdery taste means the coating still needs cooking, while a bitter, dark edge tells you the heat has run ahead of the food.
Lift The Finished Pieces Gently
Take the cooked okra out with a wide slotted spoon and hold it over the skillet for a moment so the oil can drip back. Spread the pieces on a rack or paper towels. A deep bowl with a lid traps steam, and you’ll lose that pleasant crispness before the rest of supper is ready.
Look into the skillet between batches. If you see a collection of almost-black cornmeal crumbs, carefully skim them out with a heat-safe utensil. Give the oil a moment to recover its steady sizzle, then start the next batch. The finished okra should be a patchwork of green and golden brown, not uniformly dark.
What To Serve With Fried Okra
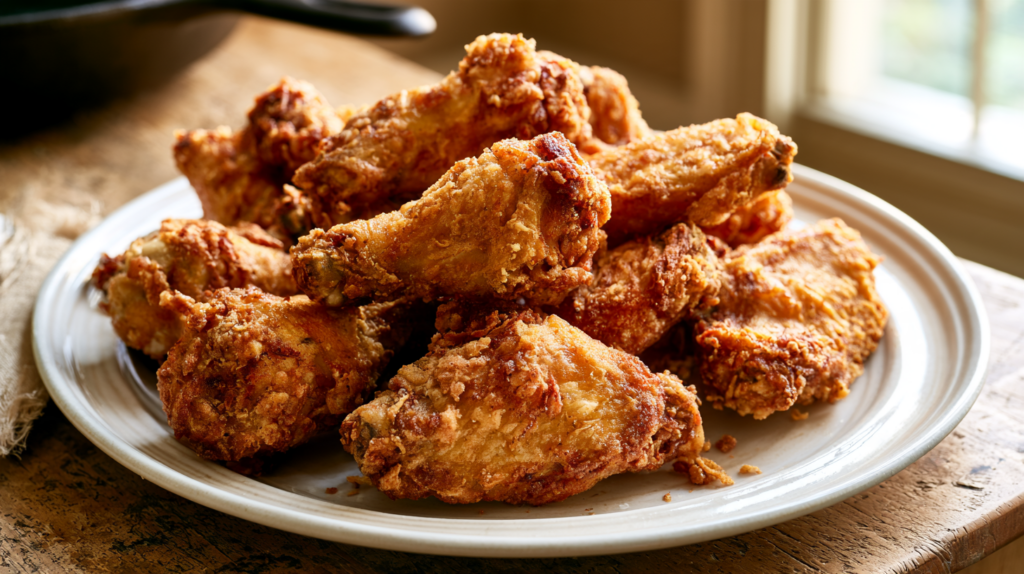
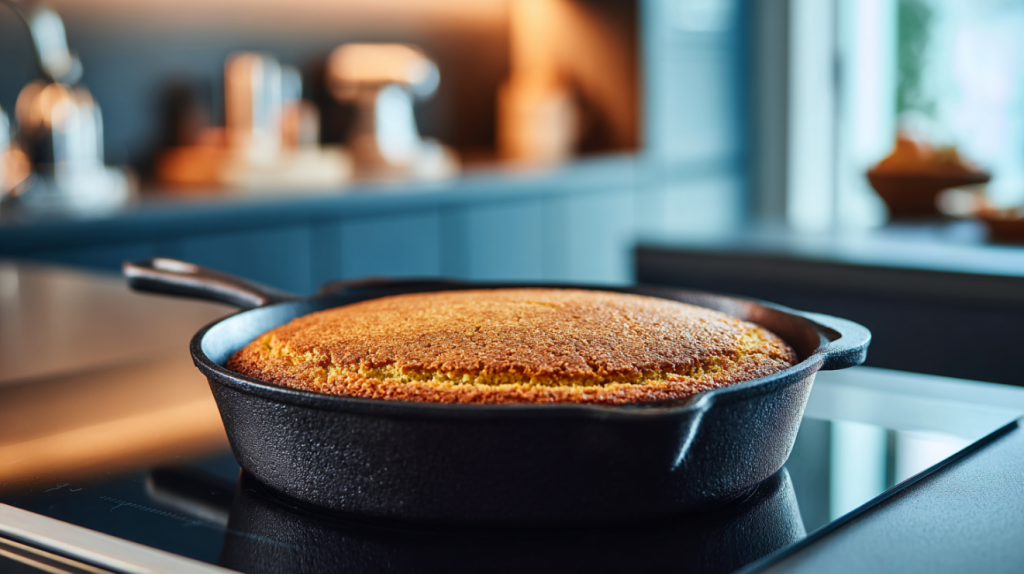
A bowl of hot okra is welcome beside fried chicken, pork chops, or country ham. Those are hearty meats, and a bite of okra gives the plate a different texture. I especially like the way the cornmeal taste fits with butter beans, field peas, and a square of cornbread. There’s nothing fussy about that supper.
When tomatoes and cucumbers are coming from the garden too, slice them fresh and set them out cold. Their cool, juicy bite is a pleasant change from anything cooked in a skillet. Corn on the cob makes a fine addition, and iced tea belongs with a meal like that as naturally as a pitcher belongs on the table.
At a larger gathering, let the softer dishes—beans, casseroles, and things with gravy—hold the table while you finish the last frying. This isn’t the side I’d put under a tight lid and leave sitting. Set out a little pepper vinegar if somebody likes a sharp splash with their vegetables. The point is a supper where each dish tastes like itself.
Other Ways To Dress Skillet Okra
Use A Little Flour With Cornmeal
Some cooks prefer to mix a spoonful or two of all-purpose flour into the cornmeal. It gives the finished crust a finer feel, particularly if the cornmeal in your pantry is on the coarse side. A three-to-one ratio of cornmeal to flour is a sensible place to begin. The flour picks up the seasoning, so the pepper doesn’t all settle at the bottom of the bowl. You’ll notice a softer, less pebbly crust when you bite into it. I wouldn’t add much more flour than that for this style of skillet okra; it changes the character of the coating.
Give The Coating A Peppery Kick
For a version with more heat, use a pinch of cayenne and a little paprika with the cornmeal. Taste your seasonings before you make the next batch stronger. Some paprika looks bright red in the bowl but doesn’t taste hot at all, while cayenne can sneak up on you after a few bites. If you’re cooking for a table with different tastes, keep the main batch mild and offer hot sauce separately. That way nobody has to sit there picking around a dish that’s hotter than they bargained for. It’s an easy choice that keeps supper pleasant for everybody.
Brown Onion Alongside The Okra
A small onion cut into thin half-moons changes the skillet into something closer to a vegetable medley. Let the onion cook until the sharp, raw smell gives way to a sweeter one and the edges start to take color. Add it partway through so delicate slices don’t turn bitter while the okra cooks. Some onion pieces will soften rather than crunch, which gives you two very different textures on the fork. It’s especially good with a pot of pinto beans, where the little browned onion bits don’t go to waste. Use a wide skillet so both vegetables have contact with the hot surface.
Try A Hot Oven Instead
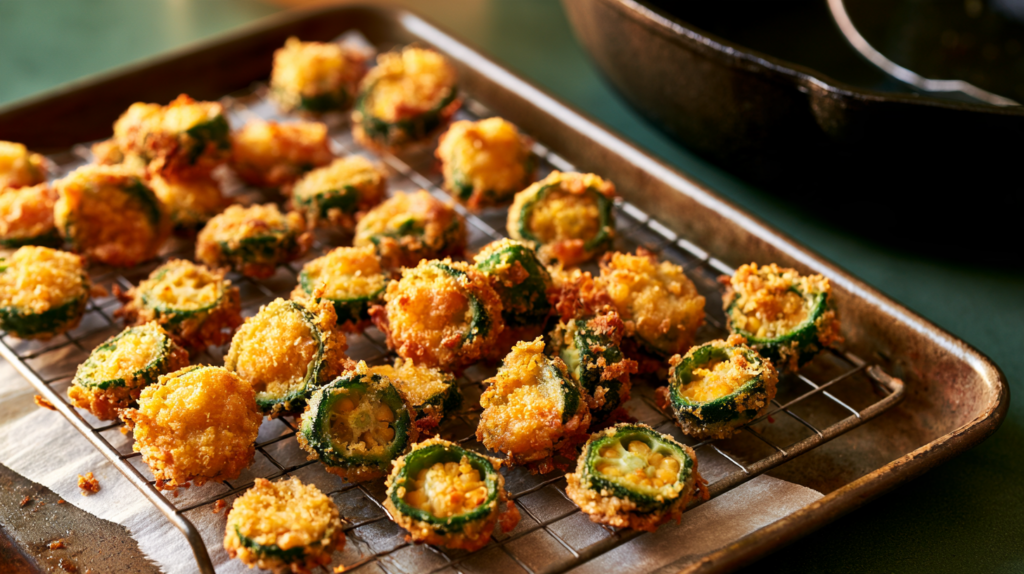
An oven version is worth knowing when every burner is busy with supper. Coat the okra, toss it lightly with oil, and arrange the pieces on a hot sheet pan at 425°F. Turn them as browned spots develop, and pull them out when the centers are tender. They won’t have quite the same rich, skillet-fried finish, so don’t expect them to fool anybody. What you will get is an easier way to cook a larger amount without standing over the stove. A metal sheet pan gives better browning than a deep baking dish because the pieces can spread out.
Saving Okra For Another Supper
Leftovers need to go into the refrigerator within two hours of cooking. Let the okra stop steaming, then pack it in a shallow covered container. You can keep it refrigerated for three to four days. If you made several batches, separate them into smaller containers rather than leaving one big mound that takes a long time to cool.
When you’re ready to warm it, spread the pieces on a baking sheet and use a 400°F oven for about eight to twelve minutes, until they’re hot all the way through. An air fryer set near 375°F works for a small helping; start checking after a few minutes because those little rounds can darken quickly. A microwave will warm the okra, but it won’t restore the crisp bite.
You can wash whole pods earlier in the day and keep them dry in the refrigerator until cooking time. For longer storage, freeze cooked leftovers in a single layer before transferring them to a freezer container. Frozen fried okra loses some texture, so I would use it in a mixed dish rather than plan a special supper around its crunch.
Using Leftover Pan Fried Okra Well
Give Rice And Peas Some Crunch
Warm a small handful of leftover okra and scatter it over rice and black-eyed peas. Dice a ripe tomato into the bowl for a fresh, juicy contrast. The okra works as a topping here, so even a few spoonfuls are useful.
Top A Thick Vegetable Soup
If you’ve got a pot of vegetable soup that’s more hearty than brothy, try a few reheated rounds on top in place of crackers. You’ll get the toasted cornmeal flavor against the soft carrots and beans. Put them on at the table rather than letting them disappear into the pot.
Make A Little Breakfast Plate
Leftover okra isn’t the usual breakfast side, but there’s no reason to waste a small portion. Warm it beside scrambled eggs, a biscuit, and a slice of fresh tomato. It’s a practical use for what you already cooked, and there’s no need to turn a few leftover bites into a whole new recipe.
Southern Pan Fried Okra
Equipment
- Cast Iron Skillet
- Slotted spoon
- Mixing Bowl
- Wire rack or paper towels
Ingredients
Okra And Cornmeal
- 1 lb fresh okra washed and dried
- 1/2 cup yellow cornmeal
- 3/4 tsp salt
- 1/2 tsp black pepper
- 1/2 cup vegetable oil for shallow frying, not all absorbed
Instructions
Prepare And Dry The Okra
- Wash the whole okra pods in cool water. Spread them across a clean kitchen towel, pat away the droplets, and let them dry thoroughly, especially around their stem ends. Feel the skins with your fingers before cutting: they should not be wet. Water makes cornmeal clump and can cause hot oil to spit.
- Trim away the tough stem caps without cutting too deeply into the pods. Slice the okra crosswise into rounds about 1/4 inch thick, keeping them as even as possible. Do this shortly before frying, not hours ahead, because the cut surfaces grow stickier while they sit.
Season The Light Cornmeal Coating
- In a broad dry bowl, thoroughly stir together 1/2 cup plain yellow cornmeal, 3/4 teaspoon salt, and 1/2 teaspoon freshly ground black pepper. Add the freshly cut okra and toss gently until the cut faces pick up a thin dusting. You should still see the green skin through the meal; don't pack on a thick layer.
- Lift the coated slices a handful at a time and gently shake off loose cornmeal. Leave the excess behind in the bowl rather than pouring it into the oil, where stray crumbs can burn before the okra cooks. Do not add water or a heavy wet batter to this recipe.
Bring The Skillet To Heat
- Put a heavy cast-iron skillet over medium to medium-high heat. Add enough neutral frying oil to make a shallow layer about 1/4 inch deep; the amount depends on your skillet. Let it heat until a pinch of cornmeal sizzles as soon as it touches the oil, about 350–375°F on a frying thermometer. The oil should be lively, not smoking. If you smell scorching or see smoke, turn the heat down.
Fry In Small Uncrowded Batches
- Carefully add only enough okra rounds to make a loose single layer, with a little space between them. You should hear a steady sizzle. If the sound nearly disappears, too many cold pieces have cooled the skillet; give the oil time to recover rather than adding more.
- Leave the first side alone for a few minutes. Do not keep stirring and scraping; that knocks off the cornmeal before it can form a crust. Watch the edges turn firm and golden, then gently lift one piece to check the underside. Once it has browned, carefully turn the rounds so the other cut faces can fry.
- Continue frying until the outside is golden and crunchy and the center is tender. A batch generally takes around 6–8 minutes, depending on slice thickness, oil heat, and how much is in the pan. Judge by the golden edges and crisp feel rather than the clock alone. If the meal turns dark too quickly, lower the heat; if the pieces are pale and greasy, allow the oil to heat more.
Drain And Serve The Okra
- Lift the finished okra from the oil with a slotted spoon, let the excess drip off, and spread it on a wire rack or paper towels. Do not pile hot pieces in a covered bowl; trapped steam softens that crust. Remove dark loose crumbs from the skillet with a heat-safe utensil as needed and allow the oil to return to a steady sizzle before frying the next batch.
- Taste a piece once it has cooled enough not to burn your mouth. It should have a light crunch outside with a tender center, not a raw powdery coating. Taste for seasoning and serve the rounds hot, before their crisp edges have time to soften.
Notes
Grandmaw's Notes
- Dry before cutting. Wash whole pods ahead of time and let them dry completely on a towel. Wet okra makes the cornmeal paste up instead of crisping.
- Slice when ready. Make even quarter-inch rounds just before coating and frying. Cut okra left sitting too long gets sticky and harder to handle.
- Keep the coating light. Toss the fresh slices in seasoned cornmeal, then shake off what doesn't cling. You want to see green, not a thick shell of breading.
- Listen to the oil. A pinch of cornmeal should sizzle promptly before the first batch goes in. Smoking oil is too hot; a quiet pan needs more heat.
- Don't crowd or fuss with it. Fry in a loose single layer and let the underside turn golden before stirring. Too many pieces steam; too much stirring knocks away the crust.
- Drain without trapping steam. Lift out the golden pieces with a slotted spoon and spread them on a rack or paper towels. Keep them uncovered and serve hot for the best crunch.
Nutrition
Rate This Recipe
Share This Recipe With The Ones You Love!Questions Worth Asking About Fresh Okra
Can You Eat The Okra Seeds
Yes, the little pale seeds inside okra are edible. Cut a tender pod across and you’ll see them arranged in the middle, tucked into the green flesh. You don’t need to pick them out. As the okra cooks, the seeds soften along with the rest of the piece. If you find a pod full of unusually hard seeds and tough walls, it has probably grown past its best stage for eating. Removing the seeds won’t cure that. A properly tender pod ought to be pleasant from skin to center, seeds included.
Is Red Okra Good For Frying
Red okra is fine for frying. Don’t be surprised if some of that pretty burgundy color fades or turns greenish as it cooks. That’s what heat can do to the pigments in the pod, not a sign you’ve done anything wrong. Pick red okra for the same qualities you’d look for in green: firm skin, fresh ends, and a tender feel. It usually has a mild flavor, so it doesn’t need its own special seasoning. If somebody brings you a basket of red pods, you can put them to good use.
Should You Peel Okra Before Frying
No, there’s no reason to peel okra for frying. The skin of a young pod is edible and helps the slice hold together after it’s cut. Try to peel one and you’d soon have a slippery little mess in your hands, with much of the vegetable gone before it ever reached the stove. Simply remove the hard stem cap. Those raised ribs along the outside are supposed to be there; they aren’t something you have to scrape off. If the skin itself feels leathery, look for a more tender pod instead.
How Much Okra Makes Four Servings
A pound of fresh okra is a useful starting amount for four side-dish servings, though the bowl won’t look quite as full after trimming and cooking. Think about who’s coming to supper. If this is the one vegetable alongside the meat, people may take a larger helping. If you’ve already got beans, tomatoes, and corn on the table, smaller portions will do. A scale helps more than counting pods because some are twice the size of others. I’d rather plan for the appetites at the table than pretend every family serves itself the same way.
Can You Fry Whole Okra Pods
Yes, you can fry whole okra pods, especially the small tender ones. Leave enough of the stem end attached to keep each pod together, and take care not to trap water around the cap. A whole pod has less exposed surface than a sliced round, so the outside and the bite will be different. The center also takes longer to heat through. Cook until the entire pod is tender, not just brown on one side. It’s a pleasant way to serve okra when the pods are small enough to put two or three on a plate.
Why Is My Okra Stringy Inside
When okra is stringy or tough, the trouble often began before it reached the stove. Pods left growing too long can develop firm fibers in their walls. You may notice your knife pushing harder through one pod than the next, or see strands pulling away from the cut surface. Set those aside rather than hoping extra cooking will make them young again. If you grow okra, check your plants often during warm spells; the pods can get away from you faster than you’d think. Good frying starts with something worth cooking.
A Good Skillet Makes Supper Better
There’s something satisfying about putting a plain garden vegetable on the table and seeing people reach for another spoonful. You don’t have to cover it with half the pantry to make it worth eating. The cornmeal gives it just enough of a toasted bite, and underneath there’s still that familiar green okra. Those uneven little rounds look like supper cooked in a real kitchen, which is exactly what they are.
Thank you for spending time at the stove with me. I hope this pan fried okra finds its way onto your supper table alongside the dishes your family enjoys. Make the amount that suits your household, and enjoy the meal while it’s good and warm. If you cook it, come back and tell me what you served beside it. There’s always pleasure in hearing about another good supper.