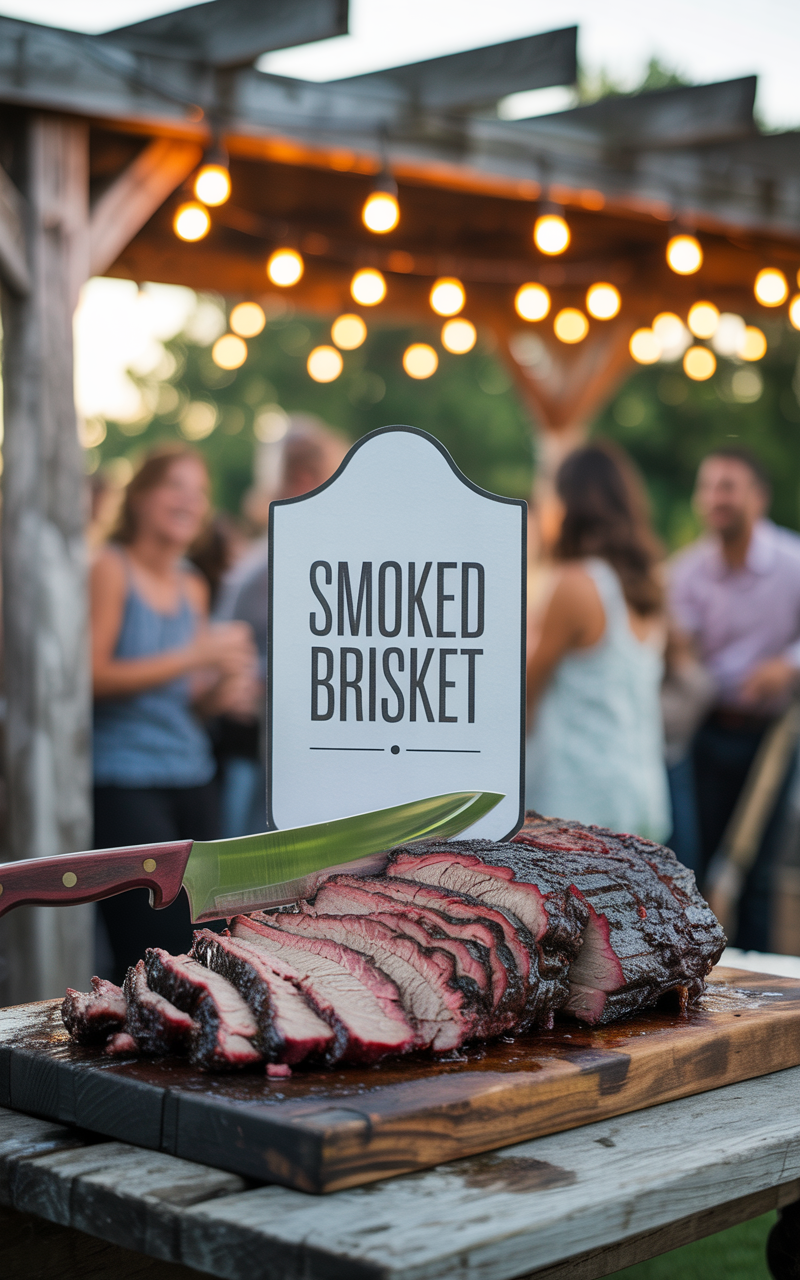
To sharpen a kitchen knife effectively, use a whetstone at the correct angle—usually 15 to 20 degrees—glide the blade across the stone evenly on both sides, then finish with a strop to polish the edge.
Sharpening a kitchen knife isn’t about brute force—it’s all about technique and consistency. The best method for most knives is using a whetstone, which gives you full control over the sharpening angle and pressure. First, soak the stone (if it’s a water stone), then place it on a stable surface like a damp towel on your counter.
Hold your knife at a 15–20 degree angle depending on your knife style—closer to 20 degrees for Western blades and around 15 degrees for Japanese-style knives. Glide the blade smoothly from heel to tip across the stone, maintaining even pressure. Repeat this on both sides until you feel a burr form. Progress through finer grit stones to refine the edge.
Once you’re done with the stone, finish with a leather strop. Stropping removes microscopic burrs and polishes the blade, giving it that ultra-sharp, razor-like finish. This final step is the difference between “pretty sharp” and “cuts paper midair” sharp.
Understanding the Importance of Knife Sharpening
There’s something deeply satisfying about a well-honed kitchen knife. It glides through tomatoes like a samurai sword and makes prep work a breeze. But for many home cooks and even some professionals, sharpening knives feels like black magic. Is it just rubbing a blade on a rock? Is it dangerous? Does it even make a difference?
Spoiler: It does. A massive difference.
Sharp knives aren’t just a flex—they’re safer, more efficient, and make your ingredients shine. Dull knives, on the other hand, can slip, tear, or smash your produce, leaving your prep work jagged and your fingers in jeopardy.
Debunking the Myths of Knife Sharpening
Let’s kick a few myths to the curb. “Honing is the same as sharpening.” Nope. Honing realigns the edge; sharpening reshapes it. “Electric sharpeners ruin knives.” Not true—if you use a decent one properly. “Only pros can use whetstones.” Wrong again. With a little practice, anyone can do it.
Knife sharpening isn’t gatekept by chefs in tall hats. This skill belongs in every kitchen.
Knife Edges and Angles: It’s All About Geometry
At the core of sharpening is understanding edge geometry. Your knife edge isn’t just a line—it’s an angle. Western knives usually sport a 20-degree edge per side, while Japanese blades are more acute, sitting at 15 degrees or even lower. This makes them sharper but more delicate.
Different knives have different edge types—double bevels, single bevels, convex, hollow. Each requires its own approach. Understanding your knife’s geometry helps you choose the right sharpening tools and angles.
Sharpening Tools: What You Really Need
If you’ve ever Googled “knife sharpener,” you know it’s a rabbit hole. Let’s simplify.
Unlock Our Free Design Library
Get instant access to a collection of beautifully designed printables for your kitchen and your next party, courtesy of our new site, Priey.
Get Free Access-
Whetstones (a.k.a. sharpening stones) are the gold standard. They come in different grits, like sandpaper for your blade.
-
Honing rods are your daily maintenance buddy—think of them as toothbrushes for your knives.
-
Electric and pull-through sharpeners offer convenience but can be aggressive.
-
Strops, often overlooked, are the final polish that gives your knife that hair-splitting edge.
You don’t need them all—just the right ones for your skills and kitchen needs.
Sharpening Like a Pro: It’s Easier Than You Think
A good sharpening session is like a zen ritual. Start by soaking your whetstone (if it’s a soak stone). Anchor it securely. Hold your knife at the correct angle. Glide it across the stone smoothly and consistently. Flip. Repeat.
Progress from coarse grit (reshape the edge) to fine grit (polish it). Once you can feel a burr, you’re doing it right. Don’t forget to strop. This last step makes all the difference—it refines the edge like a fine razor.
If you’re using a honing rod, swipe the blade gently from heel to tip on both sides. This maintains your edge between sharpening sessions.
Avoid These Rookie Mistakes
Sharpening is as much about what not to do. Many beginners:
-
Press too hard.
-
Sharpen only one side.
-
Skip progression grits.
-
Forget to test the edge.
Avoid these, and you’ll go from jagged edge to Jedi Master.
Maintaining Your Edge
Even the sharpest blade goes dull if abused. Store knives in magnetic strips or blocks—not drawers. Don’t cut on hard surfaces like glass. Wash and dry immediately after use. And yes, regular honing helps preserve your edge longer.
Tools of the Trade: For Every Skill Level
Beginners should start with a combo whetstone (1000/6000 grit) and a ceramic honing rod. Professionals might lean into high-end diamond stones, angle guides, and leather strops. Choose gear that matches your commitment level, not just your Instagram aesthetic.
Knowing When to Hone or Sharpen
If your knife starts smashing tomatoes instead of slicing, it’s time to sharpen. If it’s just veering off course slightly, a quick honing might be all you need. Sharpen once a month for regular cooks; hone once a week (or daily if you’re slicing a lot).
Sharpening isn’t just about blade upkeep—it’s about respecting your tools, your time, and your food.
The Art of Knife Sharpening
A dull knife is the culinary equivalent of trying to shave with a butter stick—frustrating, risky, and just plain inefficient. Knife sharpening isn’t just some arcane ritual passed down from kitchen samurai—it’s a fundamental skill every home cook, pitmaster, and onion-chopping warrior should wield with confidence.
Think about it. Your knife is your sword. Your prep table is the battlefield. Without a razor-sharp edge, you’re doomed to a war of mangled carrots and squashed tomatoes. In this guide, we’ll slice through the confusion and teach you how to master sharpening once and for all.
Why Sharp Knives Matter
Sharp knives are safer. Yes, you read that right. A properly sharpened blade reduces the need for excess force, allowing you to glide through ingredients rather than hack and shove. Dull blades slip. They bounce. They skid. That’s how fingers get added to the salad.
Sharp knives are also more precise. Whether you’re filleting fish, chiffonading basil, or deboning a chicken, the cleaner the cut, the better the result. You’ll notice it in everything from presentation to flavor—less bruising, less tearing, more culinary magic.
Common Myths About Knife Sharpening
Let’s bust a few myths while we’re at it:
-
Myth #1: Sharpening is only for pros. Nope. With a little practice, anyone can do it.
-
Myth #2: Honing and sharpening are the same. Honing aligns the edge. Sharpening reshapes it.
-
Myth #3: Pull-through sharpeners destroy knives. They’re not ideal for all blades, but quality ones used properly can be safe.
If you’ve been intimidated by sharpening because of these old wives’ tales, consider yourself officially liberated.
Understanding Knife Edges and Angles
Types of Knife Edges
Not all edges are created equal. Here’s a quick breakdown:
-
Double-bevel edge: Common on Western knives; sharpened on both sides.
-
Single-bevel edge: Seen on traditional Japanese knives; one side only.
-
Convex edge: Slightly rounded, providing strength and durability.
-
Hollow edge: A thinner edge for finer slicing, found on delicate blades.
Knowing your edge type helps you choose the right sharpening method.
Proper Sharpening Angles for Different Knives
The sharpening angle is everything. Too steep, and you get a weak edge. Too shallow, and you’re basically sanding the whole blade.
-
Western knives: 20 degrees per side (approx.)
-
Japanese knives: 10–15 degrees per side
-
Cleavers and heavy-duty blades: 25+ degrees for durability
Use an angle guide if you’re unsure—precision matters here.
Essential Knife Sharpening Tools
Whetstones (Sharpening Stones)
These are your best friends in the sharpening world. Available in different grits:
-
Coarse (200–800 grit): For repairing chips or reshaping.
-
Medium (1000–3000 grit): For general sharpening.
-
Fine (4000–8000+ grit): For polishing and finishing.
Choose a combo stone to start—say 1000/6000—and you’re good to go.
Honing Rods vs Sharpening Rods
They look similar but function differently.
-
Honing rods: Ceramic or steel, used for edge realignment.
-
Sharpening rods: Typically diamond-coated, used for light sharpening.
You don’t need both, but you’ll want to understand the difference.
Electric and Manual Knife Sharpeners
-
Electric: Fast and convenient, but they can be aggressive.
-
Manual pull-through: User-friendly, but often lack control over angle and edge type.
Perfect for the lazy or time-starved cook, but be selective in brand and quality.
Stropping: The Secret to a Razor Edge
A leather strop isn’t just for barbers. Stropping removes microscopic burrs and polishes the edge. It’s the difference between “sharp” and “scary sharp.”
You can use a dedicated strop or flip your belt over in a pinch.
Step-by-Step Knife Sharpening Techniques
Preparing Your Workspace and Tools
Clean your knife. Soak your whetstone (if necessary). Secure everything—no sliding stones allowed. A damp towel underneath the stone works wonders.
How to Use a Whetstone Properly
-
Start with coarse grit if the blade is dull.
-
Hold the knife at the correct angle.
-
Apply even pressure. Push and pull the blade in smooth strokes.
-
Flip and repeat for the other side.
-
Move to finer grit for polishing.
-
Check for a burr—that’s your sign you’re doing it right.
It takes time. Don’t rush it. Sharpening is therapy with a bonus: better food.
Using a Honing Rod the Right Way
Honing is a quick ritual that keeps your edge in line.
-
Hold the rod vertically or at a slight angle.
-
Swipe the knife gently from heel to tip.
-
Alternate sides for balance.
-
Repeat 5–10 times.
Do this weekly, and your blade will stay sharper longer.
Strop It Like You Mean It – Final Touch
After sharpening, drag the edge across a leather strop—spine leading, edge trailing. Think “shaving” the strop without cutting into it.
Do 10–15 strokes per side. That edge will glint in the light like Excalibur.
Common Mistakes and How to Avoid Them
Over-sharpening and Uneven Edges
Too much sharpening wears the blade down. Don’t go overboard. Aim for balance and consistency, not aggressive grinding.
Ignoring Burr Formation
The burr is your feedback mechanism. If you’re not forming a burr, you’re not sharpening effectively. Learn to feel for it.
Skipping Progression Grits
Jumping from coarse to fine is like trying to go from kindergarten to calculus. Take the steps in between.
Maintenance Tips to Keep Knives Sharp Longer
Daily Habits That Preserve Edges
-
Use wood or plastic cutting boards (never glass or stone).
-
Clean and dry immediately after use.
-
Don’t toss knives in the sink (it’s not a hot tub).
-
Avoid the dishwasher like it’s cursed.
Storage Techniques to Prevent Dulling
Store blades in a knife block, magnetic strip, or protective sheath. Never loose in a drawer where they jangle like change in your pocket.
Choosing the Right Tools for Your Kitchen
Best Sharpening Tools for Beginners
-
Combo whetstone (1000/6000 grit)
-
Ceramic honing rod
-
Angle guide for whetstone
-
Leather strop (optional but awesome)
This setup will cover 99% of your sharpening needs.
Pro-Level Sharpening Gear
-
Diamond plates in multiple grits
-
Premium Japanese water stones
-
Bench-mounted strops
-
Digital angle measurement tools
For those chasing perfection or sharpening as a side hustle.
When to Sharpen and When to Hone
Signs Your Knife Needs Sharpening
-
It smashes tomatoes instead of slicing them.
-
You have to use force to cut.
-
The blade reflects light along the edge.
-
It can’t slice paper cleanly.
If you nodded to any of the above, grab your stone.
Honing Schedule Recommendations
-
Home cooks: Hone weekly, sharpen monthly.
-
Heavy users: Hone daily, sharpen every 2–3 weeks.
Staying on schedule keeps your blade in peak condition.
The Edge of Glory
Mastering knife sharpening isn’t just about saving your fingers or impressing guests—it’s about embracing craftsmanship in the kitchen. There’s something deeply satisfying about restoring a blade to its former glory with your own two hands. With the right tools, a bit of patience, and this guide under your belt, you’re ready to keep every knife in your arsenal razor-sharp and ready for action.
Your kitchen deserves better than dull blades. Soak your stone, find your angle, and sharpen like a boss.
FAQs About Knife Sharpening
Q1: How often should I sharpen my knives?
A: For average home use, once a month. If you’re cooking daily, every 2–3 weeks is ideal.
Q2: What’s the difference between honing and sharpening?
A: Honing aligns the blade’s edge; sharpening removes metal to restore sharpness.
Q3: Can I ruin a knife by sharpening it wrong?
A: Yes—but it takes a lot. Just avoid excessive grinding or incorrect angles.
Q4: Do I need expensive stones to get good results?
A: Not at all. A decent combo whetstone and a ceramic rod are plenty for most cooks.
Q5: How can I tell when my knife is sharp enough?
A: It should slice through paper effortlessly and feel like it’s “biting” into food with no pressure.
️ Let’s hear it, blade bosses!
What was the first thing you ever tried to sharpen? Was it a kitchen knife, a butter knife (oops), or your reputation in culinary school? Drop your sharpening fails, triumphs, or wild kitchen experiments in the comments—I live for edge drama!
Want more sharp skills and kitchen thrills? Follow me on social media for bonus tips, behind-the-scenes content, and chaotic cutting board confessionals. Or come hang with us on Discord—we’re slicing, dicing, and memeing it up every day. Your edge squad awaits.


